 Skip to content
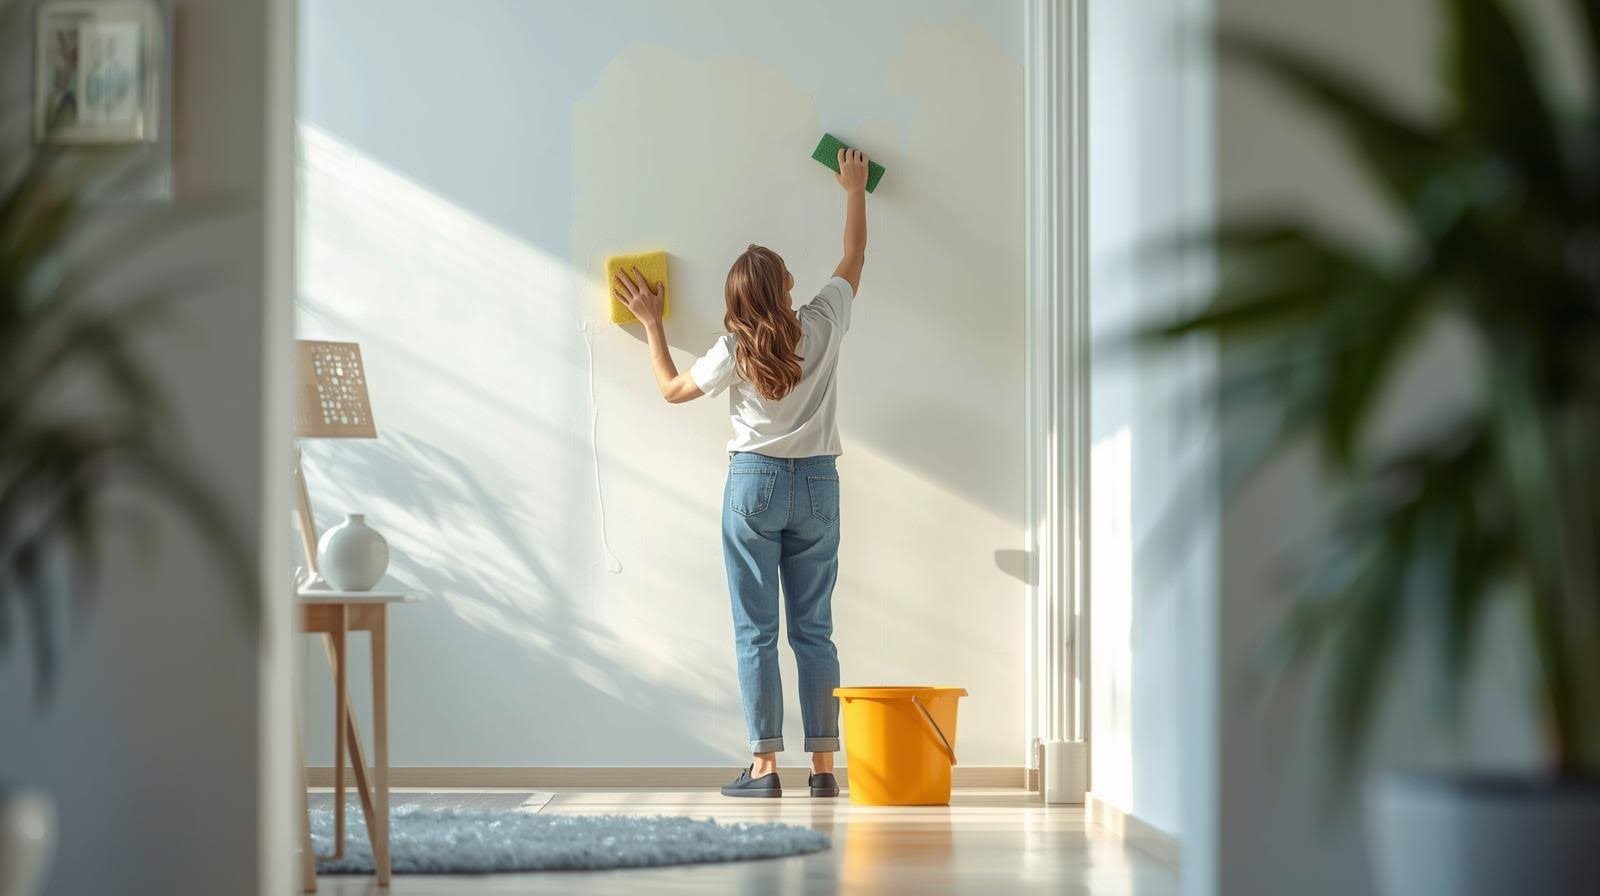
The best way to clean walls is to start by dusting with a microfiber duster or dry microfiber cloth, followed by a gentle cleaning solution of warm water and mild detergent like dish soap. Always spot test an inconspicuous spot before proceeding. Use a soft cloth or clean sponge, wrung out well, to lightly rub the surface in a circular motion, working from top to bottom. For tougher stains or high traffic areas, opt for spot cleaning with baking soda, white vinegar, or a magic eraser. Avoid harsh chemicals or strong solvents to prevent damaging paint or altering the paint finish. For flat, matte, or semi-gloss interior paint, always choose the safely clean method recommended for the paint type.
Why Wall Surfaces Attract Dirt and Grime
Wall surfaces accumulate dirt from air movement, fingerprints, cooking residue, and environmental particles. This includes:
- Loose dirt and dust settling from HVAC systems and foot traffic
- Scuff marks from furniture, bags, or shoes
- Grease buildup on kitchen walls near stoves and appliances
- Moisture stains in bathrooms or near HVAC units
These contaminants adhere to paint finishes over time. If ignored, they can cause discoloration, texture damage, and permanent staining, especially on matte finishes or flat paint.
How Paint Type Affects Wall Cleaning
Not all paint finishes respond the same way to cleaning. Professional cleaners first identify the paint type to choose appropriate methods.
Flat or Matte Paint
- Non-reflective, absorbs stains easily
- Shows marks after scrubbing
- Requires light spot cleaning only
- Less durable and require a gentler cleaning approach.
- Can become burnished (shiny) if scrubbed too harshly.
Eggshell or Satin Finishes
- More durable, slightly glossy
- Tolerates mild detergents and soft wiping
Semi-Gloss and Gloss Paint
- High durability and moisture resistance
- Suitable for kitchens, bathrooms, and high-touch areas
- Allows for more aggressive cleaning methods
- Higher gloss or sheen finishes are easier to clean than lower sheen finishes.
Latex Paint
- Common in residential interiors
- Water-based, cleanable with non-abrasive solutions
- Sensitive to harsh chemicals
Oil-Based Paint (less common)
- Tougher, used on trim or commercial surfaces
- Can handle stronger cleaners if tested first
- Vinegar should be avoided on oil-based paints as it can dull the finish.
Understanding paint finish is critical. Using the wrong solution or technique can lead to removing paint, streaking, or a permanent sheen change.
Assessing the Surface Before Cleaning
Before any cleaning starts, professionals evaluate the following:
- Paint integrity: Check for peeling, flaking, or recent touch-ups
- Contamination type: Dust, oils, scuffs, mildew
- Moisture exposure: Stains from leaks or condensation
- Previous cleaning attempts: Areas with discoloration or altered finish
This determines whether the wall is safe to clean using water-based methods or if dry cleaning techniques are needed.
Tools and Materials for Cleaning Painted Walls
Professionals rely on specific tools to ensure cleaning is effective and non-damaging:
- Microfiber cloths (dry and damp): Lint-free and non-abrasive
- Sponge: For applying cleaning solutions to washable surfaces
- Two buckets: One for solution, one for rinse water
- Soft bristle brush: For crevices or textured finishes
- Clean towel: For drying after rinsing
- Rubber gloves: Protects skin from detergents and warm water
- Step ladder: To reach ceiling areas
- Place towels or drop cloths along baseboards to catch runoff
Optional for spot treatment:
- Magic eraser: Effective on semi-gloss and gloss paint
- Spray bottle: For light misting of solution
- Microfiber duster or vacuum with brush attachment: For initial dust removal
Preparing the Wall: Dust Before Wet Cleaning
Before using any cleaning solution, all wall surfaces should be dry dusted to prevent turning dust into mud. This is standard in professional cleaning workflows.
Dry Dusting Steps:
- Start from the ceiling and work down.
- Use a microfiber duster or vacuum with brush attachment.
- Pay attention to trim, corners, HVAC vents, and around light switches.
- Avoid static-prone cloths, which can redistribute fine dust.
Skipping this step leads to streaking and ineffective cleaning.
Best Cleaning Solutions for Painted Walls
Professionals choose wall-safe cleaners that match the paint type and soil level. The following options are proven effective:
1. Warm Water + Dish Soap
- Ratio: 1 tsp dish soap to 1 quart warm water
- Works for general cleaning on latex, satin, and semi-gloss finishes
- Rinse with clean water to remove residue
2. Distilled White Vinegar + Water
- Ratio: 1 part vinegar to 3 parts water
- Effective against grease and mild mildew
- Avoid on flat paint unless spot tested
3. Baking Soda Paste
- Mix with water to form a paste
- Apply to scuff marks or tougher stains, then wipe clean
- Use on small areas only
4. Rubbing Alcohol or Hydrogen Peroxide (Spot Use Only)
- For ink, marker, or mildew
- Apply with a cotton swab
- Always test first on inconspicuous spot
Never use bleach, ammonia, or abrasive degreasers unless dealing with oil-based paint or sealed surfaces, and only after surface testing.
When cleaning walls, always start at the top and work your way down to prevent drips from falling on areas already cleaned.
Step-by-Step: How to Wash Walls Without Damaging Paint
1. Dust and Prep
- Remove surface dirt
- Place towels at baseboards
- Remove wall hangings if needed
2. Mix Cleaning Solution
- Use appropriate cleaner based on surface type
- Fill a second bucket with clean water for rinsing
3. Wipe Gently Using Circular Motion
- Start at the top of the wall
- Use a soft sponge or cloth
- Avoid excess water—wring out all tools
Excess moisture can damage delicate wallpaper or wood finishes. For washable wallpaper, a solution of warm water and mild dish soap can be used, ensuring to dry immediately to avoid water damage.
4. Rinse Section After Cleaning
- Use a clean, damp cloth to wipe off solution
- Prevent streaks and residue buildup
5. Dry Thoroughly
- Use a clean towel or allow to air dry
- Ensure wall is fully dry before rehanging items
Spot Cleaning: What to Do for Marks, Grime, and Stains
Scuffs, fingerprints, and isolated grime are common on high traffic areas like entryways and stairwells. Instead of cleaning the whole wall, professionals spot clean:
- Use a sponge dipped in cleaning solution and wrung out
- Apply light pressure and lightly rub
- Rinse with clean water
- Dry with a lint-free cloth
For scuff marks, a magic eraser works well, but avoid on flat paint or textured finishes. Use baking soda paste instead. Crayon or marker stains can be cleaned with rubbing alcohol on a soft cloth, avoiding scrubbing to prevent spreading the ink.
Painted walls should be dusted and cobwebs removed at least monthly, with weekly cleaning recommended for smudges and dirt around doorknobs and light switches.
Special Considerations for Freshly Painted Walls
Freshly painted walls are vulnerable to damage. Most manufacturers, including Benjamin Moore, recommend waiting 2–3 weeks before cleaning. This allows for full curing of interior paint.
Until then:
- Only dry dust with microfiber cloths
- Do not apply any wet cloth, sponge, or solution
- Avoid hanging items that might scuff or pull paint
Cleaning too soon can lead to peeling, paint touch ups, or color change.
When to Use All-Purpose Cleaners (and When Not To)
All-purpose cleaners can be used safely only if:
- The wall has semi-gloss, gloss, or oil-based paint
- The cleaner is non-toxic and pH-neutral
- The product label lists it as safe for painted surfaces
Avoid using:
- Spray cleaners on flat or matte finishes
- Scented or dyed cleaners that may leave residue
- Glass cleaner with ammonia unless tested first
Always apply to a cloth, not directly to the wall, and spot test first.
Mistakes That Lead to Paint Damage
Common cleaning errors that cause removing paint or staining:
- Using excess water on matte finishes
- Applying harsh chemicals without testing
- Using dyed cloths that transfer color
- Letting cleaning solution dwell too long
- Aggressive scrubbing on soft paint finishes
These issues often require professional repainting or refinishing. Prevention is more efficient than correction.
When to Schedule Professional Wall Cleaning
Professional cleaning services are recommended when:
- You notice recurring mildew or moisture damage
- High traffic areas show embedded grime that doesn’t wipe off
- Paint has started to discolor unevenly from improper cleaning
- You are preparing a unit for turnover or resale
Professionals use tested products, HEPA-filter vacuums, and low-moisture methods that protect your painted surfaces and ensure uniform results.
Practical Takeaways
- Always identify your paint type before cleaning.
- Use microfiber cloths, not paper towels or abrasive pads.
- Stick to non-toxic, diluted solutions like dish soap and white vinegar.
- Dry dust before any wet cleaning.
- Test all products on an inconspicuous spot first.
- Avoid cleaning freshly painted walls for at least 2–3 weeks.
- Gloss and semi-gloss finishes tolerate more moisture than flat or matte.
- Call a professional when walls show embedded grime, moisture stains, or repeated marks.